Showing posts with label Sugar. Show all posts
Friday, August 19, 2011
First Day of School!!
Friday, June 24, 2011
Chop Chop Bread Salad
Sugar came home yesterday. I was so excited!! I hugged her for what seemed to be a lifetime. When things finally settled down, Sugar requested only one thing. That I make Chop Chop Bread Salad for dinner.
Now I don't pretend to be a culinary genius. When we first got married, we lived off tuna casserole and hot pockets. However, I have been paying close attention to Food Network. In fact, I owe many of my most loved meals to the brilliant minds of Food Network. Chop Chop Bread Salad is no exception. It come from the ingenuity of Guy Fieri and man, is it wonderful!! I have made a few changes due to my family's likings but it's basically his recipe!
First, gather your ingredients: 1-red bell pepper, 1-cucumber, grape tomatoes, sourdough bread, feta cheese, olive oil, minced garlic, minced basil, minced parsley, red wine vinegar, balsamic vinegar, and salt & pepper.
Now I don't pretend to be a culinary genius. When we first got married, we lived off tuna casserole and hot pockets. However, I have been paying close attention to Food Network. In fact, I owe many of my most loved meals to the brilliant minds of Food Network. Chop Chop Bread Salad is no exception. It come from the ingenuity of Guy Fieri and man, is it wonderful!! I have made a few changes due to my family's likings but it's basically his recipe!
First, gather your ingredients: 1-red bell pepper, 1-cucumber, grape tomatoes, sourdough bread, feta cheese, olive oil, minced garlic, minced basil, minced parsley, red wine vinegar, balsamic vinegar, and salt & pepper.
Step 1
Take your bread and slice it. Drizzle oil oil on the slices and sprinkle salt & pepper. Then grill both sides of the bread. Continue doing this with about 5-6 slices.
While that is going on....take care of step 2.
Step 2
Slice the grape tomatoes in half length wise, dice the bell pepper (seedless), peel and cut the cucumbers into quarters. Put it all into a bowl together.
Step 3
Add 2 tablespoons of the garlic and basil. You only need 1 teaspoon of parsley. After that you drizzle in 2 tablespoons of red wine vinegar and balsamic vinegar. Mix well and cool in fridge for 15 minutes.
Step 4
While that is cooling, take the grilled sourdough bread and chop it into 1 inch pieces. Then take the veggies out of the fridge and fold in crumbled feta cheese. I usually use 2 packages of Athenos Feta Cheese. It's super yummy. Finally, add the bread and mix well.
Carole
Sunday, June 5, 2011
Story Aprons
So it has been way too hot in Oklahoma to do a lot outside. It was 102 degrees today. Whoa! It's not even July yet and I'm toasted! So lately we've been doing activities inside and cleaning as well. (I somehow tricked my kids into making cleaning a game. Shhh! Don't tell them.)
Today we made story aprons. I love story aprons. I tell me kids early in the day that we're doing them so that they can pick the perfect book and get to reading. They read the books while I cut aprons out of poster boards.
When they finish the book, I give them a piece of paper and instruct them to draw 5-7 characters or important items that are in the story. Afterwards, I cut their drawings out and let them glue their items/characters on Popsicle sticks. While that is drying, I staple a piece of paper at the bottom of their apron for them to write the title of their story with the author. Above the paper, they are to draw a picture of the story's setting.
When they are all done, I place holes at the top and string some yarn to that they can wear it around their neck as an actual apron. Then daddy and I sit down and watch their production. They use their Popsicle stick characters and items to retell the story against their apron setting. The stapled piece of paper with the title written on it serves as a pocket for their Popsicle sticks to be stored.
And how adorable are my little storytellers?!
Today we made story aprons. I love story aprons. I tell me kids early in the day that we're doing them so that they can pick the perfect book and get to reading. They read the books while I cut aprons out of poster boards.
When they finish the book, I give them a piece of paper and instruct them to draw 5-7 characters or important items that are in the story. Afterwards, I cut their drawings out and let them glue their items/characters on Popsicle sticks. While that is drying, I staple a piece of paper at the bottom of their apron for them to write the title of their story with the author. Above the paper, they are to draw a picture of the story's setting.
When they are all done, I place holes at the top and string some yarn to that they can wear it around their neck as an actual apron. Then daddy and I sit down and watch their production. They use their Popsicle stick characters and items to retell the story against their apron setting. The stapled piece of paper with the title written on it serves as a pocket for their Popsicle sticks to be stored.
And how adorable are my little storytellers?!
Labels:
Bulldozer,
Peanut,
story aprons,
Sugar,
summer 2011
Saturday, May 28, 2011
Day 2 - Paddle Boats & Ice Fun
Day 2 of the Summer 2011
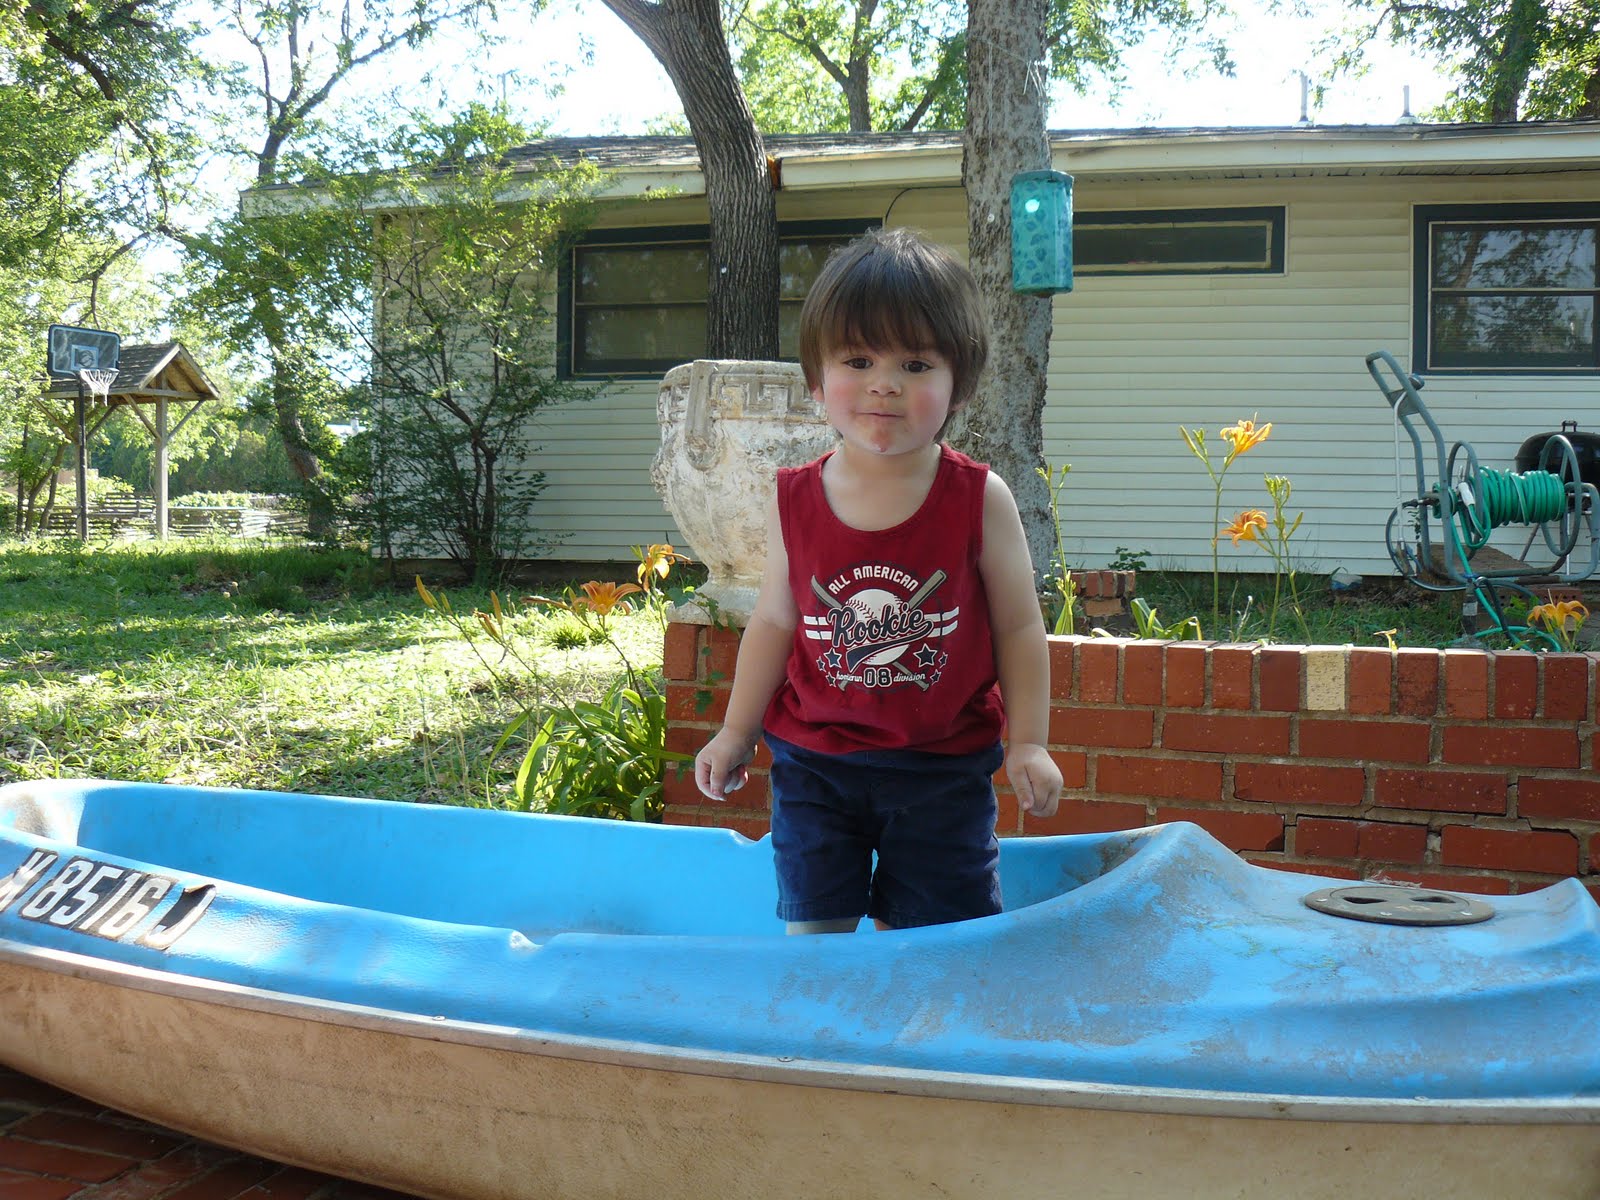
Today has been a very good day. This afternoon we managed to purchase a paddle boat, 2 kayak boards, and a kiddie kayak for $200.00 at an auction! Yay for good deals! My kids had the best time looking over our loot and picking which one was their favorite.
I love the second pic. Bulldozer was in the middle of saying "Please" as in "Please take me to the lake". LOL! Too cute!
In addition to getting some awesome lake toys, we did a little ice excavating. I got the idea from a wonderful post found here. I had the kids put some of their little toys in some pie pans, filled them with water, and put them in the freezer over night. Today, it was 104 degrees outside so it was the perfect temp for an ice activity. I dumped the icy toys out onto the back porch, gave the kids tools to use, and let them rescue their toys.
Due to the intense heat, it didn't take long to rescue the toys but they had a great time doing it. Afterwards, they enjoyed their success with popsicles! YAY!!!
Today has been a very good day. This afternoon we managed to purchase a paddle boat, 2 kayak boards, and a kiddie kayak for $200.00 at an auction! Yay for good deals! My kids had the best time looking over our loot and picking which one was their favorite.
I love the second pic. Bulldozer was in the middle of saying "Please" as in "Please take me to the lake". LOL! Too cute!
In addition to getting some awesome lake toys, we did a little ice excavating. I got the idea from a wonderful post found here. I had the kids put some of their little toys in some pie pans, filled them with water, and put them in the freezer over night. Today, it was 104 degrees outside so it was the perfect temp for an ice activity. I dumped the icy toys out onto the back porch, gave the kids tools to use, and let them rescue their toys.
Due to the intense heat, it didn't take long to rescue the toys but they had a great time doing it. Afterwards, they enjoyed their success with popsicles! YAY!!!
Carole
Monday, May 16, 2011
Dresser Makeover and Cute Kid Pics!
So I accomplished 50% of my goals last week! YAY!! I managed to pick up our family portraits (I'm not thrilled with how I look but the rest of my clan looks terrific!), I finished Bulldozer's dresser but didn't get to Peanut's yet, and I'm still coming up short of ideas for summer projects.
Well onto what I did accomplish...
I wanted to upgrade Sugar's clothes to a different dresser so I moved hers over to a thrift store find and moved Bulldozer's clothes to her old dresser.
Before...
You probably can't see the crayon marks but Bulldozer has colored the heck out of that thing. I painted it his signature color green and mod podged some cute wrapping paper on the drawers. Then I added his name for some flair. It turned out okay.
I ended up putting his name on the wrong drawer. Arg! I didn't really notice the difference in the sizes of the drawers until it was too late. Oh well. He likes it and that's all that matters.
In other news: This is my Bulldozer waking from a nap...
He's my little Curious George. LOL!
Well onto what I did accomplish...
I wanted to upgrade Sugar's clothes to a different dresser so I moved hers over to a thrift store find and moved Bulldozer's clothes to her old dresser.
Before...
You probably can't see the crayon marks but Bulldozer has colored the heck out of that thing. I painted it his signature color green and mod podged some cute wrapping paper on the drawers. Then I added his name for some flair. It turned out okay.
I ended up putting his name on the wrong drawer. Arg! I didn't really notice the difference in the sizes of the drawers until it was too late. Oh well. He likes it and that's all that matters.
In other news: This is my Bulldozer waking from a nap...
He's my little Curious George. LOL!
Carole
Thursday, May 5, 2011
Teacher Appreciation Gifts
So I am officially finished with Finals and have completed this semester with straight A's!!! Woot! Tonight I finished putting together the teacher appreciation gifts for Sugar & Peanut to take to school tomorrow. I realize it's the end of Teacher Appreciation Week but at least I got them done during the same week. That's quite an accomplishment considering all the testing I've been doing.
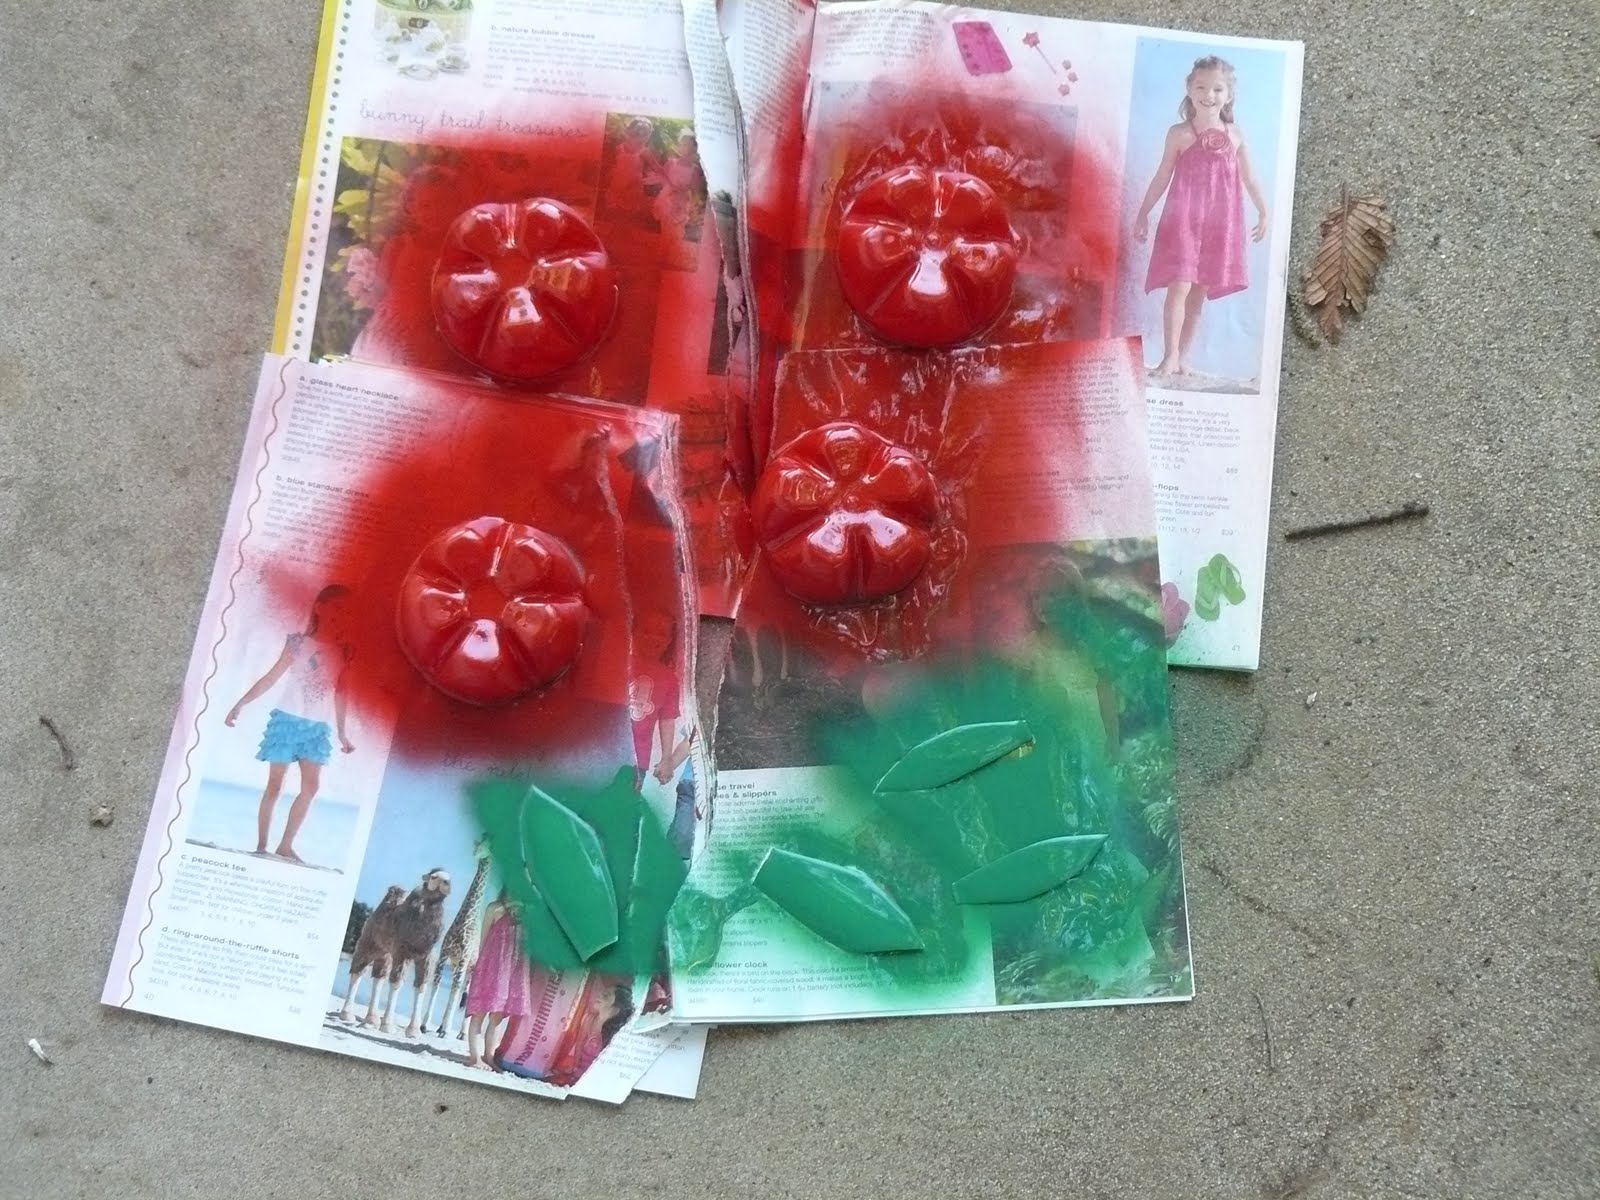
In honor of Earth day (still...) I decided to make the gifts out of recycled products. I used the bottoms of Dr. Pepper bottles and cut "leaves" out of the side of the bottles. Then I sprayed them with red and green spray paint made especially for plastics.
After they dried, I hot glued the leaves on top of one of the bottle bottoms and added some green beads to the very top for asthetic purposes.
Then I added some red tissue paper and candy. I suggested Smarties to my kids to show how "smart" they have become thanks to their teachers.
And finally I put the bottle bottoms togethers and.....TA-DA!!!
I got this whole idea from a website I happened across one day but I can't for the life of me find it again to post a link. GRR!! But anyways, Happy Teacher Appreciation Day!!!
In honor of Earth day (still...) I decided to make the gifts out of recycled products. I used the bottoms of Dr. Pepper bottles and cut "leaves" out of the side of the bottles. Then I sprayed them with red and green spray paint made especially for plastics.
After they dried, I hot glued the leaves on top of one of the bottle bottoms and added some green beads to the very top for asthetic purposes.
Then I added some red tissue paper and candy. I suggested Smarties to my kids to show how "smart" they have become thanks to their teachers.
And finally I put the bottle bottoms togethers and.....TA-DA!!!
I got this whole idea from a website I happened across one day but I can't for the life of me find it again to post a link. GRR!! But anyways, Happy Teacher Appreciation Day!!!
Carole
Thursday, February 10, 2011
Walking thru a Winter Wonderland!
In January my daughter Sugar turned nine years old. I am the mother of a 9-year old. Holy Poop! That is just crazy to me....*sigh*
Anyways, for her birthday party this year, she requested a "Winter Wonderland" theme. Since I was still very much postpartum, I kind of skimped on the planning and decorations this year. Under normal circumstances I go all out for these things. I mean, I'm celebrating the life of my children! Why not go above and beyond?!
However, my baby girl Ballerina was born on December 27th and Sugar's birthday was January 16th so as you can tell, that left me very little time to put into the party so to save on money and to make things a little less stressful, we used a lot of our Christmas decorations for her birthday party. Basically anything that had snowmen, snowflakes, or penguins was saved and left up.
I created large 3D paper snowflakes using a ream of paper. Half of them I sprayed with blue and silver paint and we hung them from the ceiling in random places. I made smaller 3D snowflakes to line our hallway.
In addition to the paper snowflakes, I went to the local dollar store and bought a few sets of silver snowflake garland. I asked my husband to cut the garland in 1 ft sections and hang them sporadically. The decor turned out pretty good.
For birthday cakes, I usually get super psyched and create cakes, cupcakes, and icing from scratch. This time, I was literally too exhausted to make the full effort so instead I picked up some cupcakes from a local bakery and iced them with white buttercream icing. For decorations, I took a 4 lb. bag of Jolly Ranchers and separated the flavors into gallon size Ziploc baggies. I proceeded to smash the Ziploc bags until the Jolly Ranchers were broken into small pieces. Then I spread the pieces over a cookie sheet with parchment paper on it and put it in the oven at 350 degrees for 8-10 minutes. This melted the candy down good. That was when I placed metal cookie cutters in the candy and allowed it to cool on a cooling rack for about 15 minutes. (Don't forget to spray the cookie cutters with non-stick cooking spray!)
When it was completely cooled, I broke the cookie cutters free and released the candy shape. I continued this process with all the Jolly Rancher flavors and placed them on top of the cupcakes as decorations.
They turned out beautiful and the kids were so excited to learn that the stars and snowflakes were candy.
Sugar loved the candy!
Happy Birthday Sugar!!!
Anyways, for her birthday party this year, she requested a "Winter Wonderland" theme. Since I was still very much postpartum, I kind of skimped on the planning and decorations this year. Under normal circumstances I go all out for these things. I mean, I'm celebrating the life of my children! Why not go above and beyond?!
However, my baby girl Ballerina was born on December 27th and Sugar's birthday was January 16th so as you can tell, that left me very little time to put into the party so to save on money and to make things a little less stressful, we used a lot of our Christmas decorations for her birthday party. Basically anything that had snowmen, snowflakes, or penguins was saved and left up.
I created large 3D paper snowflakes using a ream of paper. Half of them I sprayed with blue and silver paint and we hung them from the ceiling in random places. I made smaller 3D snowflakes to line our hallway.
In addition to the paper snowflakes, I went to the local dollar store and bought a few sets of silver snowflake garland. I asked my husband to cut the garland in 1 ft sections and hang them sporadically. The decor turned out pretty good.
For birthday cakes, I usually get super psyched and create cakes, cupcakes, and icing from scratch. This time, I was literally too exhausted to make the full effort so instead I picked up some cupcakes from a local bakery and iced them with white buttercream icing. For decorations, I took a 4 lb. bag of Jolly Ranchers and separated the flavors into gallon size Ziploc baggies. I proceeded to smash the Ziploc bags until the Jolly Ranchers were broken into small pieces. Then I spread the pieces over a cookie sheet with parchment paper on it and put it in the oven at 350 degrees for 8-10 minutes. This melted the candy down good. That was when I placed metal cookie cutters in the candy and allowed it to cool on a cooling rack for about 15 minutes. (Don't forget to spray the cookie cutters with non-stick cooking spray!)
When it was completely cooled, I broke the cookie cutters free and released the candy shape. I continued this process with all the Jolly Rancher flavors and placed them on top of the cupcakes as decorations.
They turned out beautiful and the kids were so excited to learn that the stars and snowflakes were candy.
Sugar loved the candy!
Happy Birthday Sugar!!!
Wednesday, February 9, 2011
Cutsie Hair Bow Holders
So my most recent project came as a result of my desire to save a little money. I was online searching for cutsie holders for my daughters' hair bows. Of my 5 children, 3 are girls so we have drawers full of bows that always seem to get bunched, folded, scrunched, and molded until they are almost unrecognizable. So I started my search only to be disappointed when I saw the price tag. Some of these things were being sold for $40.00 and that didn't include shipping and handling. Ummm...no thank you. After seeing some of these bow holders I decided that I could pull this off and make some of my own.
I took my daughters shopping for fabric with me. Well I took 2 of them. (My stepdaughter, nicknames Arizona, lives 1800 miles away so she only visits twice a year.) Sugar (my 9 year old) picked out her own fabric, girly skulls behind a pattern of pink and black. Ballerina (my 6 week old) was too busy snoozing in my wrap to be bothered with any shopping questions so I chose her fabric for her.
In addition to the fabric, I picked up two rolls of grosgrain ribbon (one hot pink and one black) and two cork boards.
I bought a full yard of each fabric but ended up only needed 1/2 a yard so I'm thinking I'm going to save the other 1/2 for something fabulous in the future.
So I used my trusty staple gun to staple the fabric around the cork board like so...
After that I used the grosgrain ribbon to make a weaving pattern across the board then promptly stapled the ribbon securely to the back of the board.
Now I realize that this seems like a crud, fast way to make a bow holder but they did turn out beautiful.
Then I added what bows I could find laying around and TA DA!!
Not to shabby for a quick afternoon craft! I didn't make a bow holder for Arizona for two reasons: 1 - she isn't here but twice a year, and 2 - she rarely wears bows and when she does, she wears Sugar's.
I took my daughters shopping for fabric with me. Well I took 2 of them. (My stepdaughter, nicknames Arizona, lives 1800 miles away so she only visits twice a year.) Sugar (my 9 year old) picked out her own fabric, girly skulls behind a pattern of pink and black. Ballerina (my 6 week old) was too busy snoozing in my wrap to be bothered with any shopping questions so I chose her fabric for her.
In addition to the fabric, I picked up two rolls of grosgrain ribbon (one hot pink and one black) and two cork boards.
I bought a full yard of each fabric but ended up only needed 1/2 a yard so I'm thinking I'm going to save the other 1/2 for something fabulous in the future.
So I used my trusty staple gun to staple the fabric around the cork board like so...
After that I used the grosgrain ribbon to make a weaving pattern across the board then promptly stapled the ribbon securely to the back of the board.
Now I realize that this seems like a crud, fast way to make a bow holder but they did turn out beautiful.
Then I added what bows I could find laying around and TA DA!!
| Sugar's Girly Skull Holder |
| Ballerina's Girly Glittery Holder |
Subscribe to:
Posts (Atom)