Showing posts with label crafting. Show all posts

Tuesday, August 16, 2011

Teacher Welcome Gift

Well my kids start school on Friday. It's a bittersweet moment but to be honest, I'm glad. This summer in Oklahoma has been a hot 110-115 degrees every day!! So I was pretty much stuck inside with the entire brood all summer! I'm pretty excited to have some quiet time during the day.

That being said, my kids always want to give their teacher's a welcome gift on the first day of school. Back to school shopping has gotten pretty expensive so I wanted their gifts to be cheap and easy. I headed to Goodwill and picked up a pair of cute coffee mugs for $1.49. Yay! In addition to the coffee mugs, I added some cute little things. For example, chocolates, Carefree gum, a gluestick, a crayon, ear plugs, and a band-aid.


I found the following little insert for the card explaining the gifts on another blog and for the life of me, I can't find it to link to. I'm a bad blogger! Anyways here's the little poem:


                Welcome Teacher! Here is a first day kit just for you!
Crayon: to ensure that your day bright & cheerful
Rubber Band: to remind you to be flexible
Gluestick: to hold it all together
Ear Plugs: when you just can't take the noise anymore
Carefree Gum: to help your class stick together and remind you to stay care free
Bandaid: to help fix any hurt feelings
Chocolate: to enjoy all the sweet moments
Coffee mug: to keep your liquid motivation flowing

Cute right?! I'm loving it!!
post signature

Tuesday, August 9, 2011

Pearl & Ribbon Necklace


Tomorrow is my anniversary! I'm excited and I bought the most adorable outfit to wear to dinner with my husband. I'll post it tomorrow! But anyways, I couldn't find the perfect necklace. I seriously have like 30 necklaces and none of them were right for the outfit so I decided to make one.

I used crochet twine, brown organza ribbon, and ivory pearls to make my necklace.

It was surprisingly easy to make, I just threaded the twine onto a needle and alternately threaded the pearls and the ribbon (folding the ribbon along the way).


I'm really excited about the way it turned out!

post signature

Tuesday, August 2, 2011

August Wreath

I finally made the time to change the wreath on my front door. I had been sporting the Patriotic wreath for two extra days because I've been a tad bit lazy. Oops! Anyways, I took my July wreath down and was pondering what to do with the August wreath. I seriously stared at my blank wreath for about fifteen minutes. J was starting to worry about me. Then, I got smart....I went on Pinterest!


Do you Pinterest? If not, you need to get on board. Seriously because it is a fantastic website. I am a little obsessed with it and I'm not embarrassed to admit it.

Anyways, I found a few inspiring wreaths but the one that I absolutely fell in love with was found at A Pretty Life in the Suburbs. It was awesome and I was excited to duplicate it. I changed the yarn to a pretty beige color and found felt flowers that were already made at JoAnn's. (Again, I've been lazy.)

Anyways, this is my wreath. What do you think?
I like it so much...it may be my August/September wreath!!
post signature

Monday, July 25, 2011

A Quick Post

Just a quick post before I head to bed. It has been a dreadfully long weekend. It was fun, no doubt but long and I am looking forward to sleeping in my Temper-Pedic bed. Yay!

My family reunion was wonderful. We kayaked on the lake, rode go-karts & carnival rides, ate smores, and spent time with family. It was wonderful!

My necklace holder was auctioned off for $40.00 and I got a few family members requesting me to make them one!! I couldn't be more happy about it. I had added some cute necklaces to the holder as well as a really cool way to hang it. If I can find a picture of it at the auction, I'll post it here.

I'll post more after I catch up on some sleep.

Stay Awesome!
post signature

Saturday, July 16, 2011

Necklace Holder

My family reunion is the upcoming weekend. Yay! A whole weekend of family bonding, kayaking at the lake, smores at the cabin, and yummy food. During our family reunion, we hold an annual auction. This auction is usually made up of homemade goodies or family heirlooms. The purpose of the auction is to fund the reunion f or the next year. Normally, I make turn in a canvas art piece as my auction item.

This year I made something cute and functional.
Many of my family members are stylish females. I figured since I've seen them wearing necklaces often, I'd make something for them to hang them on.

First, I took a basic wooden plaque from Hobby Lobby and painted it black.

Then I used my trusty Mod Podge and some scrapbook paper to make it look awesome. I added silver lettering and Mod Podged gloss over the top.

Then I stole my husband's electric screwdriver and screwed on the two coat hangers.

I love the way it turned out! It looks so cool! I was so excited that I decided to make one for my own bathroom vanity. Tee-Hee!!

Hope you like it! Stay awesome and craft on!!
post signature

Wednesday, July 13, 2011

TP Art

I saw various toilet paper artwork throughout the web. I was intrigued and excited to try it myself. This was the easiest and most earth-friendly artwork I have ever done.

Materials: Blank canvas, 7 empty toilet paper rolls, and a glue gun.

First, I cut the toilet paper rolls. I smashed the toilet paper rolls flat and cut them into equal pieces. After that I put the canvas on the table and laid out my flowers exactly how I wanted them. Once I got them set, I hot glued the flower petals together and laid them to dry. Then I glued them to the canvas. The great thing about hot gluing on canvas is that when I get tired of this particular artwork, the glue can be pealed off the canvas if done carefully.

After that I began spray painting the entire artwork. I used Krylon satin white spray paint. Not much to that. And it looks pretty good hanging on my dining room wall.


post signature

Monday, July 11, 2011

DIY Headband Holders

My girls have a lot of hair accessories. Between the three of them, I bet we have about 200 hair items. I made bow boards for their bows with clips a few months back but that left me with a ton of headbands and elastics stuffed in a drawer. Not to mention the bundles of crotched baby headbands that Ballerina wears. Well I decided to make my husband's day and do something about it.

I took a Quaker oatmeal can and a Countrytime lemonade can and covered it with Mod Podge and some brightly colored scrapbook paper. I added coordinating ribbon to the top and bottom of the can for some added flare.
I made the yellow can for my mother. She has short hair but wears headbands often. For now she has her headbands overflowing in a wicker basket on her vanity. I think she'll love it.


I added a few of our headbands to get a good measure and have found out that I may need to make two more. Yes! We have that many headbands.


The inside of the can is perfect for Ballerina's crotched bands. I am loving this so much and it looks so adorable sitting on my vanity!!

post signature

Tuesday, July 5, 2011

Korker Bow

Just a warning...I've never attempted korker bows before. This is my first time.

 I wrapped the ribbon around the dowel rods and baked them at 275 degrees for 25 minutes. I was so excited to see how they were going to turn out! It was hard to wait the 25 minutes.

After they cooled, I cute them down to about 2.5 inch long pieces and stacked them in a colorful pattern then I used some yarn to tie them in the center. I used my trusty hot glue gun to glue down some pieces then glued it to the headband.

It turned out wonderful and my Ballerina looked so patriotic!


post signature

Thursday, June 23, 2011

Sponge Bombs!!!

Oklahoma is soooo stinking hot!!! It has been up in the 105-110 degrees for weeks now. My kids are dying to go outside and play but due to the immense heat, I can only let them out for 10 minutes at a time.

Today I made Sponge Bombs!!
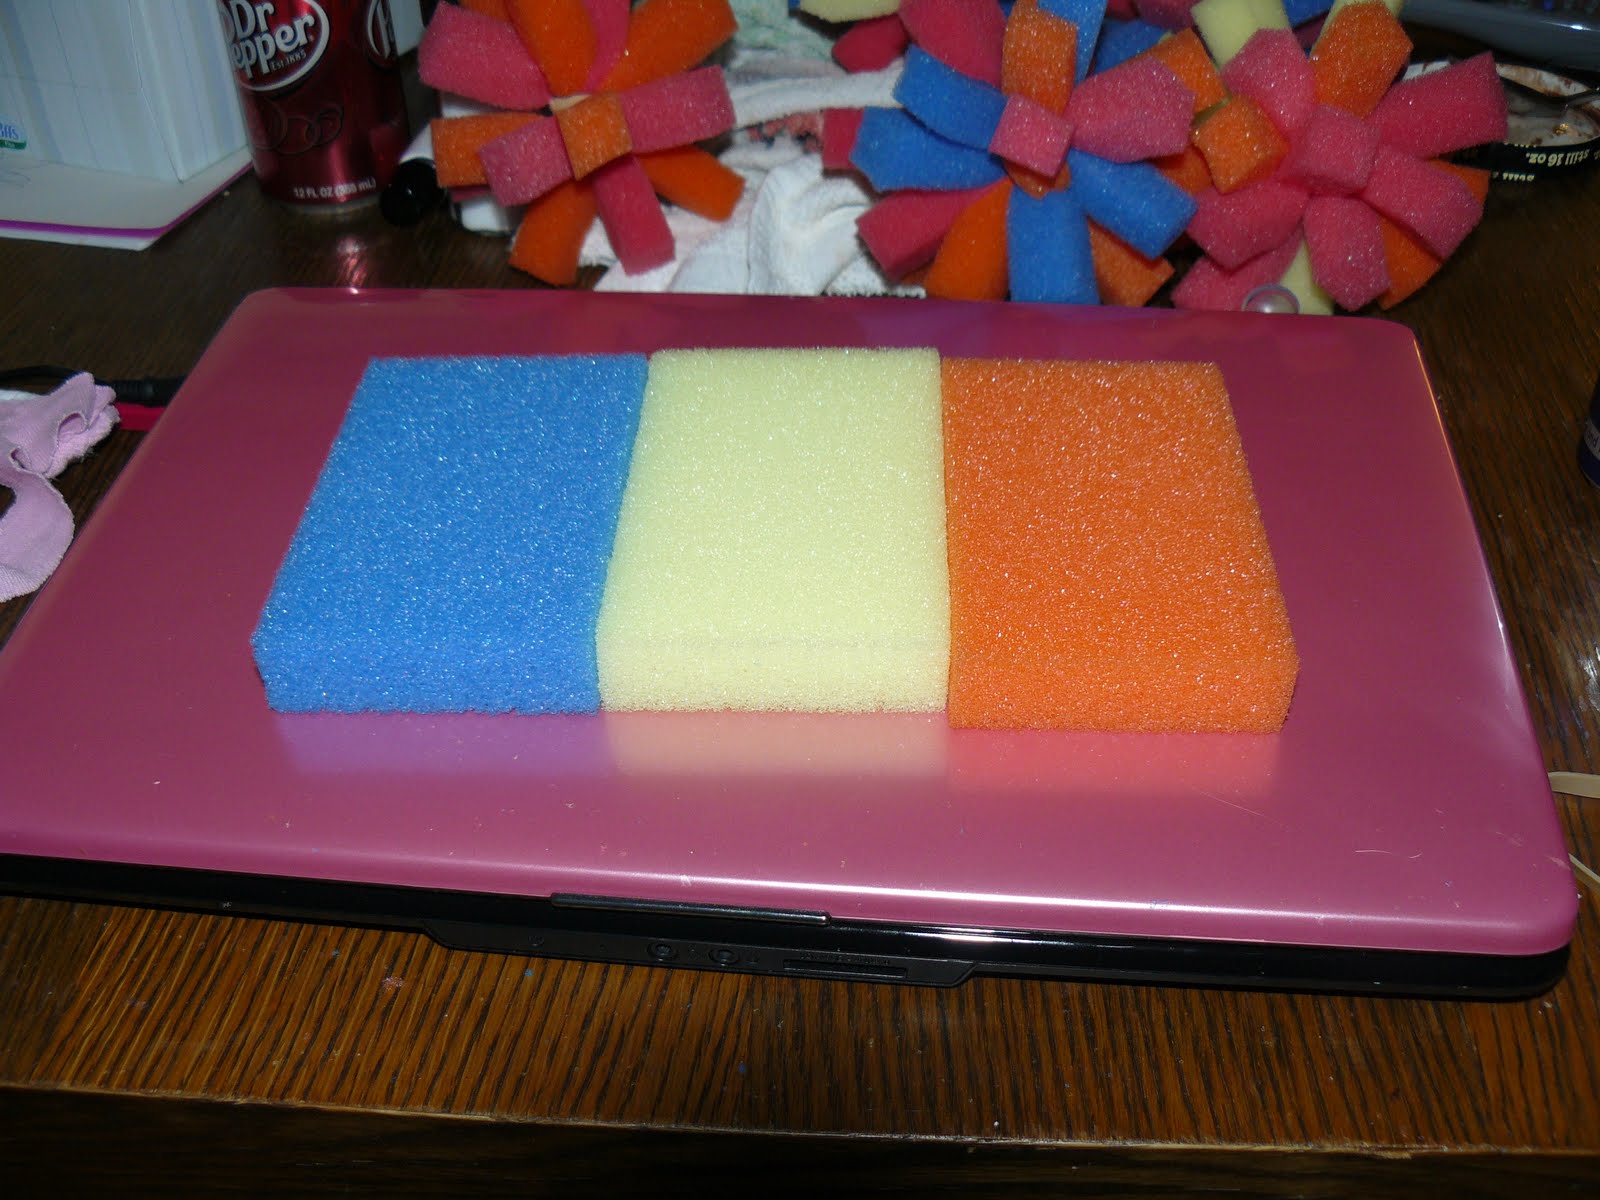
I bought some cheap packages of sponges from the Dollar tree. I cut each sponge into fourths.


I guess I could have stacked them one color on top of another and it would have worked out fine but I decided to be a bit more creative and stack them almost checkerboard like.
I took the sponges and tied them off in the middle. They turned out so well and the kids love them!!

Saturday, June 18, 2011

Father's Day Ideas

In the short amount of time I have to make a post, I'm posting a couple of Father's Day ideas that we did last year! I'm very proud of my kids for coming up with these great ideas!!


Peanut came up with this idea from some website he visits. I helped him make it out of an old cereal box, some scrapbook stickers, and some plain copy paper. He's so proud!Peanut filled it with some stick figures of him and J. It is sooo cute!


This is what Arizona made for J. We bought some little blocks, she painted them blue and green, then I glued a photo of J with the kids to the top. Once it was dry, I carefully cut the picture to make a picture puzzle. Arizona added some bling to the outside of the puzzle at the last minute and I have to say...it made it look ten times better!

Finally, Sugar made this totally cute tape measure for J out of a macaroni & cheese box, and some black & yellow paper. On the inside yellow tape, she wrote "I love you thiiiiiis much!" How cute is that!?


I'll probably post this year's Father's Day ideas on Monday. Until then...craft on everybody!!

Thursday, June 16, 2011

Fourth of July Wreath

So since it's almost July, I went ahead and finished my patriotic wreath in honor of the fourth of July. It didn't take much to do since I haven't got the funds or the time for a lavish one. I went to Hobby Lobby where they were selling Fourth of July items at 40% off and picked up a white garland with tiny flags all over it. Originally it cost $4.99 but at 40% off, I got it for $2.99. Yay!


So I took a Styrofoam wreath that I had on hand and wrapped the garland around it until it was sufficiently covered. I could have left it like that but it looked a little plain so I dug through my craft closet and came up with 3 patriotic pinwheels. So I broke them off the stick, put some hot glue on the end and stuck it into the Styrofoam. It turned out way better than I could have imagined!!

Monday, June 13, 2011

T-Shirt Rose Headband

I've been going through my kids' old clothes. And boy, do they have a ton! I normally take the kids clothes to the local children's shelter because they could use all the help they can get. But occassionally they have items that have stains on them. (Mostly thanks to the school's Super Nachos day.)


So yesterday I decided to take one of Sugar's stained shirts and try something that I've been seeing popping up on many crafty mom blogs. Some t-shirt flowers. I admit that this isn't the best picture I've taken. But give me a break, it's not easy to take a picture with one hand while your other one is holding a fussy baby. :)


I managed to make my Sugar two separate headbands. She's currently at her dad's house for a few weeks so she hasn't seen them yet but I'm sure she'll be excited! I know I'm excited about them!!

Tuesday, May 31, 2011

Summer wreath

So my house has been a mess of sickness lately. First it was Peanut and now it's Daddy and Bulldozer. Yuck! In between taking care of my boys, I finally managed to finish my summer wreath project. I started off with a rainbow of colored tissue papers, some straight bins and a Styrofoam wreath.
I cut the tissue paper into circles, folded each circle in half twice, and put two of them together to make a small flower.

Then using a straight pin, I pinned it to the wreath.


The end result was fantastic and I'm completely in love with it! Yay!


I'm excitedly linking this to:


Carole
Related Posts Plugin for WordPress, Blogger...